
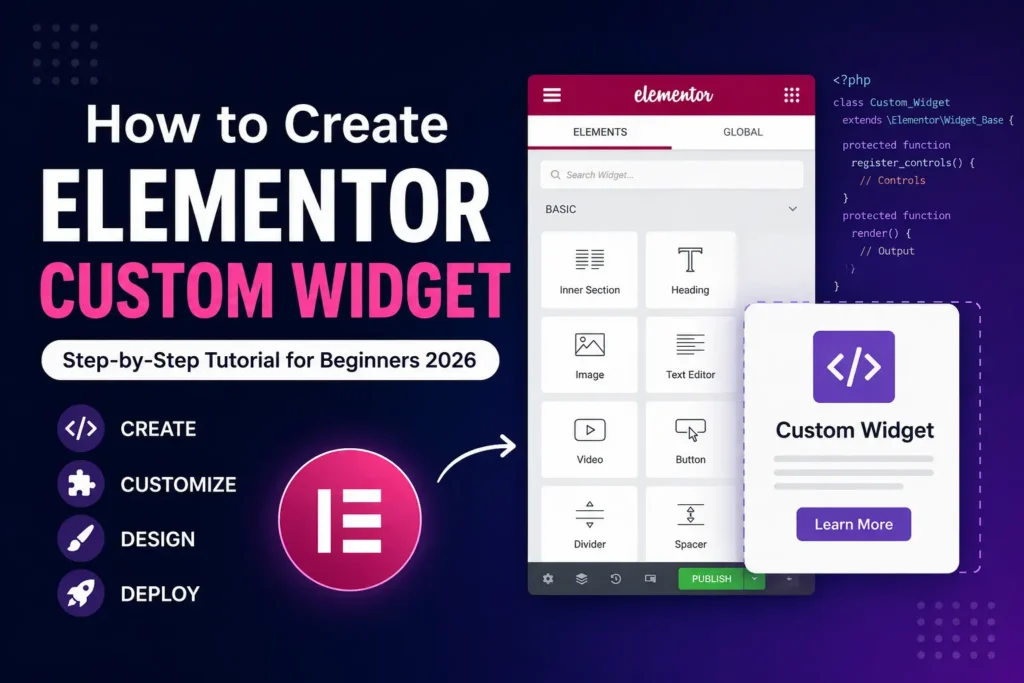
How to Create Elementor Custom Widget (Step-by-Step Tutorial for Beginners 2026)
rsbloggers • May 10, 2026
Elementor has become one of the most popular page builders for WordPress websites. While the default widgets included with Elementor are useful, many developers and website owners eventually need something more customized. That’s where Elementor custom widgets come in.
Creating your own Elementor widget allows you to add unique functionality, custom designs, dynamic content, and reusable elements directly inside the Elementor editor.
In this tutorial, you’ll learn how to create an Elementor custom widget from scratch in 2026 using modern WordPress development practices. Even if you are a beginner, this guide will help you understand the complete process step by step.
Why Create a Custom Elementor Widget?
There are several reasons developers create custom Elementor widgets:
- Add unique website features
- Create reusable content blocks
- Build client-specific components
- Extend Elementor functionality
- Improve workflow efficiency
- Create premium plugins
- Add custom integrations
Instead of repeatedly adding custom HTML or shortcodes, a custom widget gives you a clean drag-and-drop experience inside Elementor.
What You Need Before Starting
Before creating your widget, make sure you have:
- A WordPress website
- Elementor plugin installed
- Basic PHP knowledge
- Basic HTML and CSS understanding
- A code editor like VS Code
- Local development environment (XAMPP, MAMP, LocalWP, etc.)
You should also enable WordPress debugging during development.
Add this inside your wp-config.php file:
<?php
define('WP_DEBUG', true);
define('WP_DEBUG_LOG', true);
Understanding Elementor Widget Structure
An Elementor widget is usually created inside a custom WordPress plugin.
A basic Elementor widget plugin contains:
custom-elementor-widget/
│
├── custom-elementor-widget.php
├── widgets/
│   └── custom-widget.php
└── assets/
    ├── css/
    └── js/
Step 1: Create the Plugin Folder
Go to:
wp-content/plugins/
Create a new folder:
custom-elementor-widget
Inside this folder, create the main plugin file:
custom-elementor-widget.php
Step 2: Add Plugin Header
Open custom-elementor-widget.php and add:
<?php
/**
 * Plugin Name: Custom Elementor Widget
 * Description: Simple Elementor custom widget tutorial.
 * Version: 1.0
 * Author: Your Name
 */

if (!defined('ABSPATH')) {
    exit;
}
This tells WordPress that your plugin exists.
Step 3: Check if Elementor is Active
Before loading the widget, verify that Elementor is installed and activated.
<?php

function cew_check_elementor_loaded() {

    if (!did_action('elementor/loaded')) {
        add_action('admin_notices', function() {
            echo '<div class="notice notice-warning is-dismissible">
                <p>Elementor plugin is required.</p>
            </div>';
        });

        return;
    }
}

add_action('plugins_loaded', 'cew_check_elementor_loaded');
This prevents fatal errors if Elementor is missing.
Step 4: Create the Widgets Folder
Inside your plugin directory, create:
widgets
Now create:
custom-widget.php
Step 5: Create Your First Elementor Widget
Add the following code inside custom-widget.php:
<?php

if (!defined('ABSPATH')) {
    exit;
}

class Custom_Elementor_Widget extends \Elementor\Widget_Base {

    public function get_name() {
        return 'custom_widget';
    }

    public function get_title() {
        return 'Custom Widget';
    }

    public function get_icon() {
        return 'eicon-code';
    }

    public function get_categories() {
        return ['general'];
    }

    protected function register_controls() {

        $this->start_controls_section(
            'content_section',
            [
                'label' => 'Content',
                'tab' => \Elementor\Controls_Manager::TAB_CONTENT,
            ]
        );

        $this->add_control(
            'title',
            [
                'label' => 'Title',
                'type' => \Elementor\Controls_Manager::TEXT,
                'default' => 'Hello Elementor',
            ]
        );

        $this->end_controls_section();
    }

    protected function render() {

        $settings = $this->get_settings_for_display();

        echo '<h2>' . esc_html($settings['title']) . '</h2>';
    }
}
This creates a simple Elementor widget with a title field.
Step 6: Register the Widget
Now go back to:
custom-elementor-widget.php
Add:
<?php

function cew_register_widget($widgets_manager) {

    require_once(__DIR__ . '/widgets/custom-widget.php');

    $widgets_manager->register(
        new \Custom_Elementor_Widget()
    );
}

add_action(
    'elementor/widgets/register',
    'cew_register_widget'
);
This registers your widget inside Elementor.
Step 7: Activate the Plugin
Now:
- Go to WordPress Admin
- Open Plugins
- Activate “Custom Elementor Widget”
After activation:
- Open any page with Elementor
- Search for “Custom Widget”
- Drag and drop it onto the page
Your custom Elementor widget is now working.
Step 8: Add More Controls
Elementor provides many control types.
Example:
<?php
$this->add_control(
    'description',
    [
        'label' => 'Description',
        'type' => \Elementor\Controls_Manager::TEXTAREA,
        'default' => 'Add your description here',
    ]
);
Then display it:
echo '<p>' . esc_html($settings['description']) . '</p>';
Common Elementor Controls
Here are some commonly used controls:
| Control Type | Purpose            |
| ------------ | ------------------ |
| TEXT         | Single-line text   |
| TEXTAREA     | Multi-line content |
| SWITCHER     | On/off toggle      |
| COLOR        | Color picker       |
| MEDIA        | Image upload       |
| URL          | Link field         |
| SELECT       | Dropdown           |
| REPEATER     | Repeatable fields  |
| ICONS        | Icon selector      |
Using these controls helps create highly flexible widgets.
Step 9: Add Styling Controls
You can allow users to customize widget styles directly from Elementor.
Example:
<?php

$this->start_controls_section(
    'style_section',
    [
        'label' => 'Style',
        'tab' => \Elementor\Controls_Manager::TAB_STYLE,
    ]
);

$this->add_control(
    'title_color',
    [
        'label' => 'Title Color',
        'type' => \Elementor\Controls_Manager::COLOR,
        'selectors' => [
            '{{WRAPPER}} h2' => 'color: {{VALUE}};',
        ],
    ]
);

$this->end_controls_section();
Now users can change the title color visually.
Step 10: Add CSS and JavaScript Files
Create:
assets/css/style.css
assets/js/script.js
Load them:
<?php
function cew_enqueue_assets() {

    wp_enqueue_style(
        'cew-style',
        plugin_dir_url(__FILE__) . 'assets/css/style.css'
    );

    wp_enqueue_script(
        'cew-script',
        plugin_dir_url(__FILE__) . 'assets/js/script.js',
        ['jquery'],
        false,
        true
    );
}

add_action('wp_enqueue_scripts', 'cew_enqueue_assets');
This helps keep your widget organized and scalable.
Step 11: Use Repeater Controls
Repeaters are useful for lists, sliders, testimonials, FAQs, and more.
Example:
<?php

$repeater = new \Elementor\Repeater();

$repeater->add_control(
    'list_title',
    [
        'label' => 'Title',
        'type' => \Elementor\Controls_Manager::TEXT,
    ]
);

$this->add_control(
    'list_items',
    [
        'label' => 'Items',
        'type' => \Elementor\Controls_Manager::REPEATER,
        'fields' => $repeater->get_controls(),
    ]
);
Repeaters are widely used in professional Elementor addons.
Step 12: Follow Security Best Practices
Security is extremely important in WordPress development.
Always:
- Escape output
- Sanitize input
- Validate data
- Use WordPress functions
Examples:
esc_html()
esc_url()
esc_attr()
sanitize_text_field()
Avoid directly printing user data.
Step 13: Optimize Widget Performance
Heavy Elementor widgets can slow websites.
To improve performance:
- Load assets only when needed
- Minify CSS and JS
- Avoid unnecessary queries
- Use caching
- Optimize images
- Avoid excessive DOM elements
A lightweight widget improves user experience and SEO performance.
Step 14: Make Your Widget Responsive
Modern websites must work across all devices.
Elementor allows responsive controls:
<?php

$this->add_responsive_control(
    'alignment',
    [
        'label' => 'Alignment',
        'type' => \Elementor\Controls_Manager::CHOOSE,
    ]
);
Test your widget on:
- Desktop
- Tablet
- Mobile
Step 15: Organize Widgets Professionally
As your plugin grows, structure becomes important.
Recommended structure:
plugin/
│
├── widgets/
├── controls/
├── assets/
├── includes/
├── modules/
└── languages/
Professional organization improves maintainability.
Common Mistakes Beginners Make
Here are some common issues developers face:
1. Not Checking Elementor Dependency
Always verify Elementor is active.
2. Directly Printing User Input
Escape everything properly.
3. Loading Too Many Assets
Only load required files.
4. Using Inline CSS Everywhere
Use external stylesheets.
5. Ignoring Responsive Design
Mobile optimization matters.
Elementor Widget Development Tips for 2026
Elementor development continues evolving. Here are important recommendations for modern development:
Use Modern PHP Standards
Use clean and modular code.
Avoid Deprecated Hooks
Always follow the latest Elementor documentation.
Focus on Performance
Google prioritizes fast websites.
Follow Accessibility Standards
Add proper labels and semantic HTML.
Keep Widgets Lightweight
Smaller widgets improve editor performance.
Final Thoughts
Creating a custom Elementor widget may seem difficult initially, but once you understand the structure, it becomes much easier. Starting with a simple widget is the best way to learn Elementor development.
As you gain experience, you can create advanced widgets, premium addons, and reusable design systems for clients and businesses.
If you regularly work with WordPress and Elementor, learning custom widget development is one of the most valuable skills you can build in 2026.
Start with basic widgets, practice consistently, and gradually explore advanced Elementor APIs and controls.
Frequently Asked Questions
Is Elementor widget development beginner-friendly?
Yes. If you know basic PHP and WordPress development, you can start building simple widgets quickly.
Do I need Elementor Pro?
No. Custom widget development works with the free version of Elementor.
Can I sell custom Elementor widgets?
Yes. Many developers create premium Elementor addon plugins.
Which language is used for Elementor widgets?
Mostly PHP, along with HTML, CSS, JavaScript, and WordPress APIs.
Can I create WooCommerce Elementor widgets?
Yes. Elementor supports WooCommerce widget integration.
Conclusion
Building Elementor custom widgets gives you complete control over your website functionality and design. Whether you are developing client websites, creating premium plugins, or improving your WordPress skills, Elementor widget development is worth learning.
By following this step-by-step tutorial, you now understand:
- Elementor widget structure
- Plugin creation
- Widget registration
- Controls and styling
- Asset loading
- Security best practices
- Performance optimization
Now you can start creating your own Elementor widgets confidently.